
Panasonic Bread Maker: Dove Farm Gluten Free Dairy Free Bread
Gluten-Free and Dairy-Free
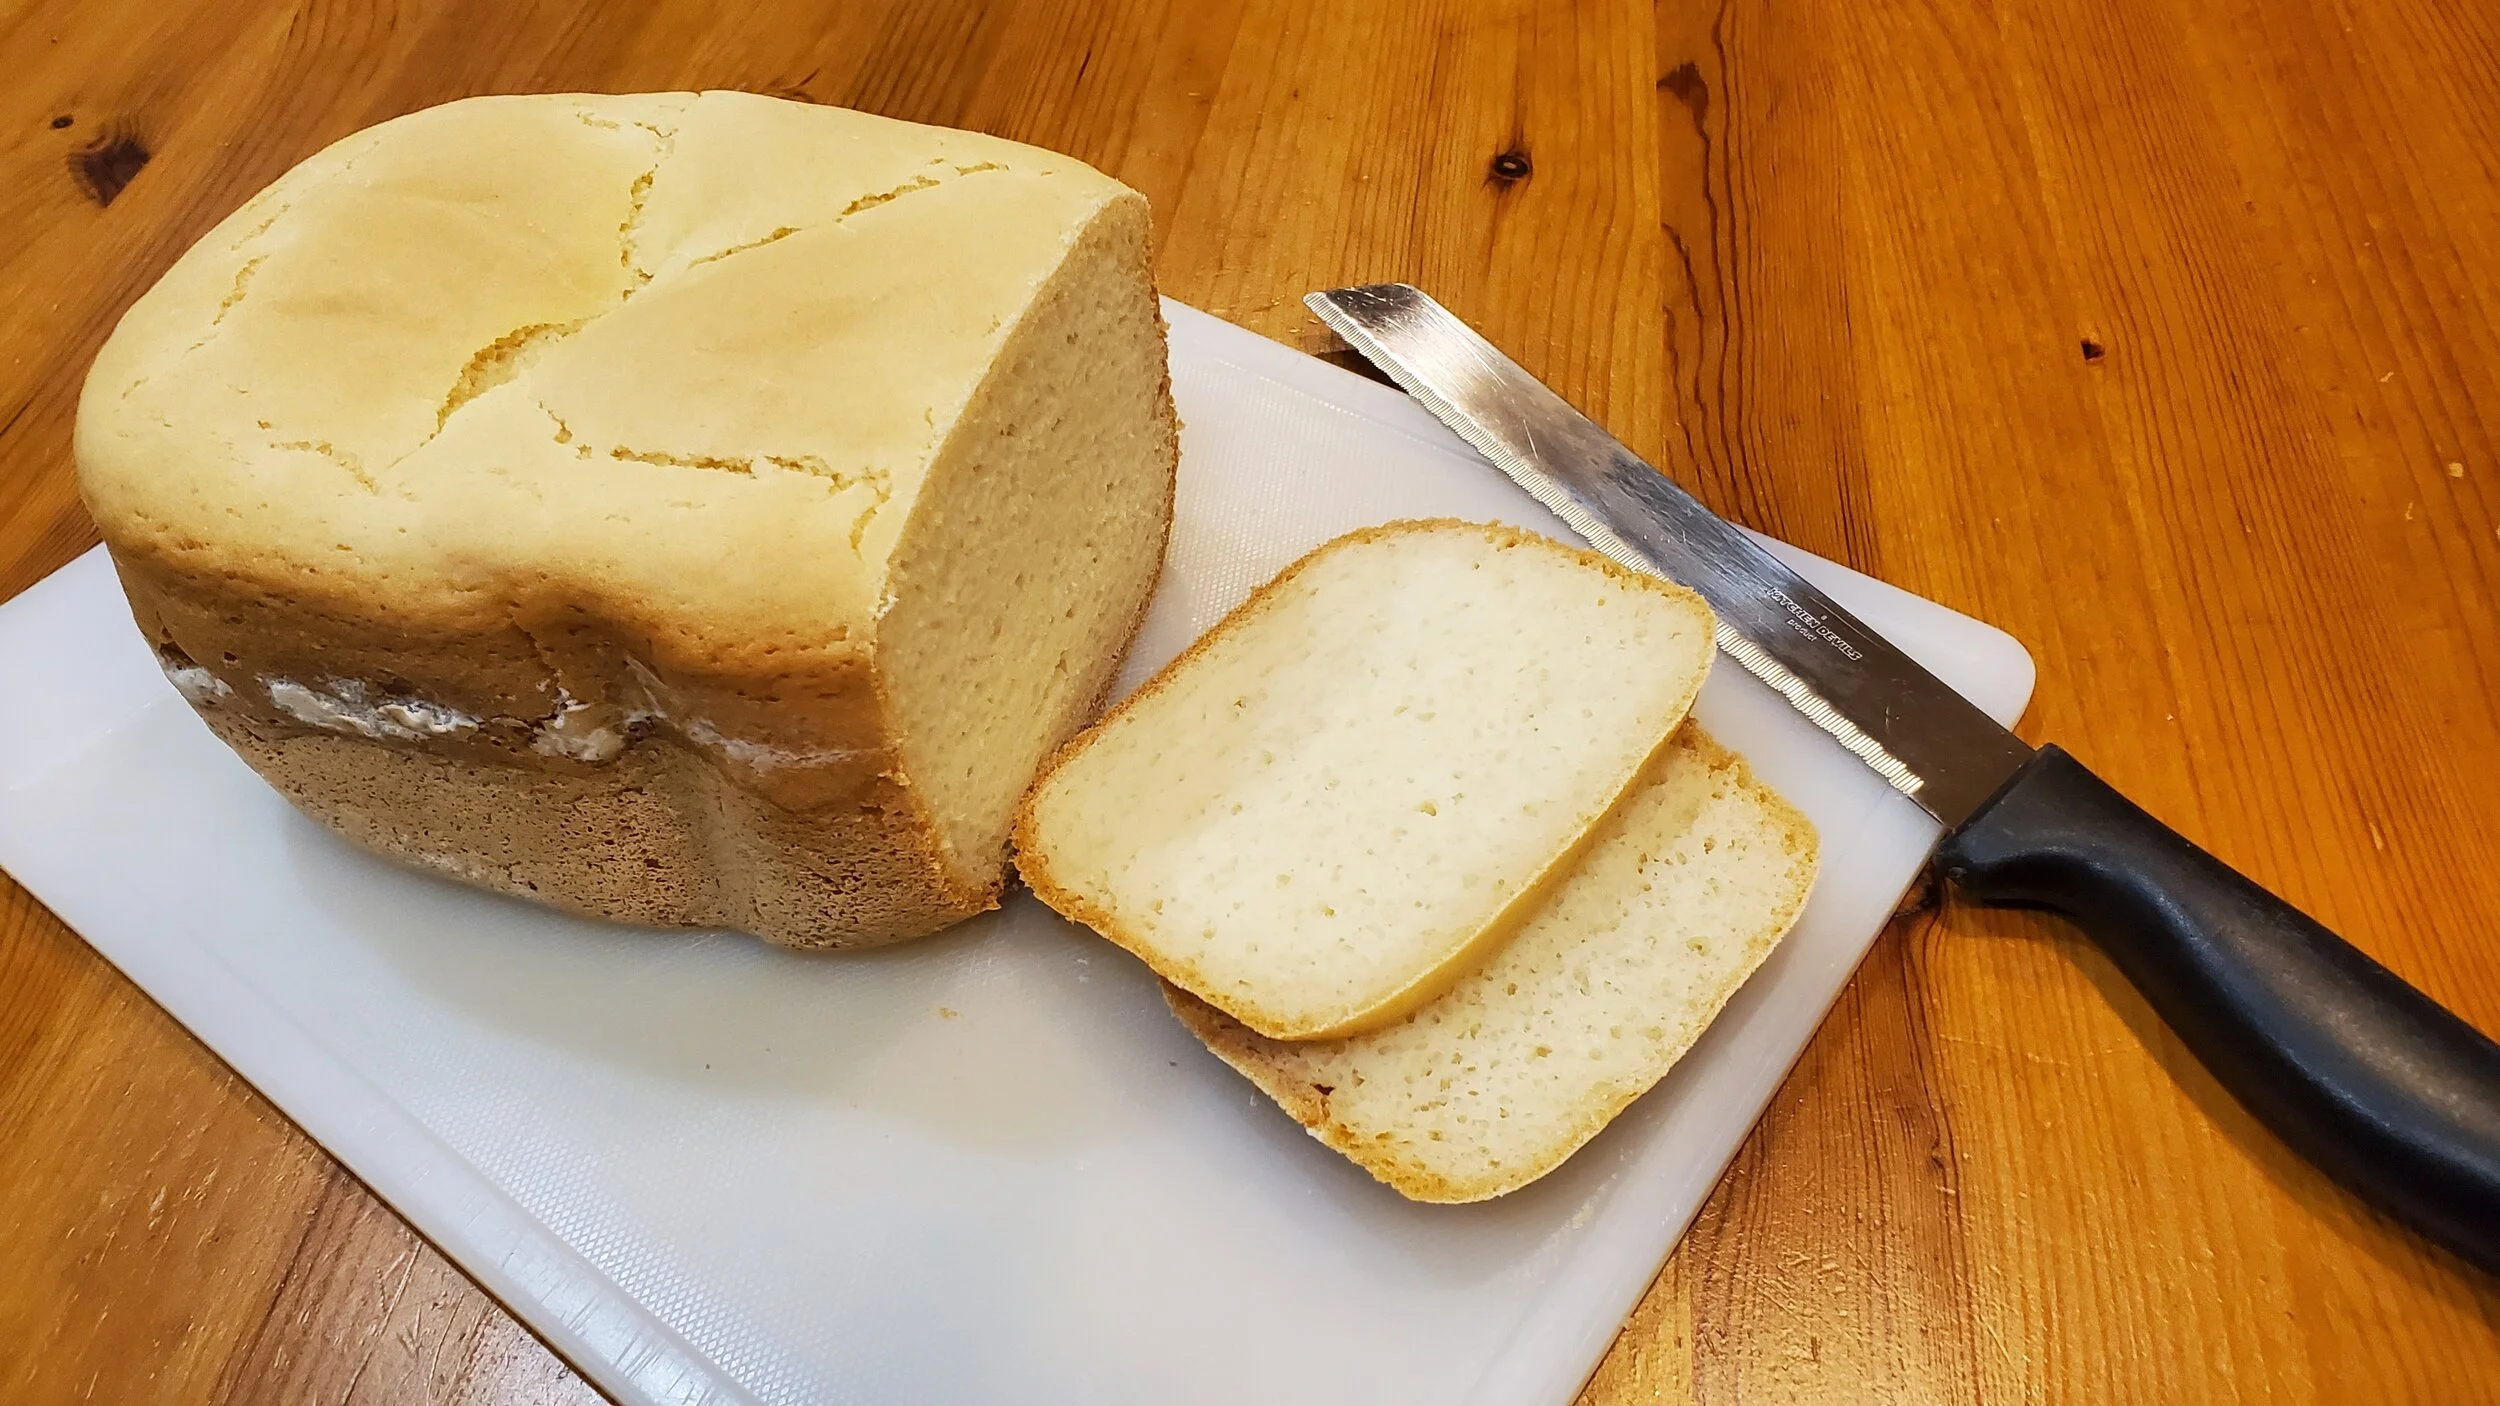
Dove Farm Bread: Gluten free, Suitable for Coeliacs Bread Maker Loaf.
The Ultimate Gluten Free Bread Machine Recipe: Foolproof and Easy.
While I love the process of making gluten-free bread by hand, there are days when life is busy and you need a reliable, "set-it-and-forget-it" solution. This recipe is quick, easy, and—in my 30 years of gluten-free baking—it truly never fails.
In my experience, gluten-free bread from a Panasonic bread maker (or any high-quality machine) tastes significantly better than dry, shop-bought loaves. It has that authentic, homemade crust and a soft centre that the whole family will love.
Why This Recipe Works
Make-Ahead Friendly: If you won’t use the loaf within two days, simply slice and freeze it. I often bake a week’s worth of bread at once so that fresh toast and sandwiches are always ready for the kids.
Universal Settings: If you don’t have a Panasonic, simply use the 'Gluten Free' setting on your specific bread machine. No gluten-free setting? Try the 'Rapid' or 'Basic' programme (aim for a cycle of approximately 1 hour 55 minutes). Always check your manufacturer’s manual for the best results.
Flour Flexibility: While I have my favorites, this recipe is designed to work with most "1-to-1" or "All-purpose" gluten-free flour blends.
How to use this Gluten Free Bread Maker Recipe in Any Machine
Prep Time:
5 Minutes
Cook Time:
1 hour 55 minutes plus time to cool.
One Loaf of Gluten Free Bread.
Ingredients:
320 ml water
1 tsp cider vinegar
4 tbsp. vegetable oil
1 medium egg
1 medium sized egg white
450 g Dove Gluten Free White Bread Flour or our General All Purpose Gluten Free Flour
1 tbsp sugar
1 tsp salt
2 tsp yeast
Instructions / Method:
For this recipe I used a:
Panasonic Automatic Breadmaker Model No. SD-ZB2512
Menu ‘14’ - ‘Dark Crust’ (1 hr 55 minutes). Timer not available.
Place the ingredients into the bread maker in the order listed above.
The wrong order may result in poor rising of the bread.
Switch the bread maker on and choose the correct menu.
After the bread has finished baking, remove immediately from the bread pan and shake it free onto a cooling rack.
Don’t worry if the kneading blade is still in the loaf. I would recommend waiting for the bread to cool before gently removing the kneading blade.
Remember to switch the bread maker off.
Store your bread in a cool dry place and consume within 2 days.
Additional Notes:
Some flour may remain on the sides of the loaf but this is normal.
Wait for the loaf to cool before slicing it (if you can).
Why not freeze the unused egg yolk for use in another recipe?
Please check your own Bread Maker regularly if you use this recipe.
Equipment Used:
Panasonic Automatic Breadmaker Model No. SD-ZB2512
Cooling Rack.
Success Tips for the Perfect GF Loaf
If you are new to gluten-free baking, the first thing to know is that it doesn’t behave like "normal" dough. It won't rise as high and may look a little flatter than you expect—the size of the loaf is often a shock at first! Because gluten-free bread loses freshness quickly, I recommend slicing and freezing it immediately. My children prefer it this way, toasted straight from the freezer.
Master the Method:
The 6-Minute Stir: Most machines beep after 6 minutes to signal a "scrape down." Don't just scrape the sides; give the mixture a gentle stir to incorporate any dry pockets in the corners. This isn't in the official Panasonic manual, but it’s our family secret for a better crumb!
The Gentle Landing: Once the programme ends, remove the loaf from the pan immediately. I’ve learned the hard way: try to land the bread on its side. If it lands hard on its top, you can actually "knock out" the delicate rise it achieved during baking.
Yeast Care: Always use "Easy Bake" yeast designed specifically for bread makers, and keep it in the fridge once opened to maintain its potency.
Troubleshooting Your Rise:
If your bread doesn't look quite right, the bubbles (the "crumb") will tell you why:
Large, uneven holes: This usually means you have too much yeast or not enough salt. In the summer, warm water can also over-activate the yeast, causing those big gaps.
Small, dense bubbles: You likely have too little yeast or too much salt. Cold water can also "stun" the yeast; try to use room-temperature water (around 25°C).
Holes in specific areas: This is a mixing issue. Ensure you’re doing that 6-minute stir to get a consistent texture.
The Flour Secret:
This recipe is specifically calibrated for Doves Farm Gluten-Free White Bread Flour. Be careful - I have often accidentally grabbed the "Plain Flour" by mistake, and trust me, it does not work for bread!
While this recipe works beautifully with Doves Farm Brown Bread Flour and some supermarket brands, we now use our own Signature Flour Mix (available on our website). We developed this during our years in Hong Kong when Doves Farm was hard to find, and we still prefer it today because it provides a reliable, consistent result every time.
There is a unique kind of peace that comes from knowing you have a fresh, safe loaf waiting in the kitchen.
I hope this bread becomes a reliable staple in your daily rhythm. If you bake a loaf, I’d love to see it - tag me @HolisticHealthArtistry on Instagram and let me know how it turned out! 🥖✨
Continue your journey through the cook book